


As a lash technician, you’ve probably heard scary tales about “lash stickies”—those annoying clumps that mess up a perfect set. They ruin the look, feel uncomfortable, and may harm your client’s natural lashes. Good isolation makes each extension stick neatly, giving a smooth, lasting style that impresses clients and boosts your name.
Why is Proper Isolation Technique Important?
Isolation isn’t just a task—it’s the key to every great lash extension job. If you skip or rush it, problems pile up, from quick stickies to unhappy clients.
Prevent Dreaded Lash Stickies
Natural lashes grow differently. Some are new, others are falling out. If you don’t isolate carefully, extensions can stick several lashes together, creating ugly stickies. This looks bad and hurts lashes.
For example, a grown lash might tug a tiny lash when it sheds. This pulls the root, which can break, thin, or leave bare spots over time. In bad cases, clients get “mass lash fallout.” Clumps fall off too soon, leaving empty patches that need extra fills.
Stickies also feel heavy and annoying. Weak lashes carry stronger ones, causing pulling or even blurry sight if clumps block the view. Clients might complain about headaches or eye discomfort, which hurts your reputation.
Isolate Your Way to a Stunning Design
Each natural lash is different in size, thickness, or curl because of its growth stage. If you don’t isolate, you’re guessing sizes. This leads to uneven looks, like pointy outer edges or messy fans that ruin the smooth flow.
With proper isolation, you can check and match lashes. A short, thin lash gets a gentle C-curl classic. A longer lash can handle a bold D-curl volume fan. This creates pretty, eye-flattering styles that fit face shapes and wishes. For example, in a cat-eye look, clean isolation stops webbing. It makes a nice shift from soft inner lashes to bold outer ones.
Push Your Skills to the Next Level
Isolation gets better with practice. Early effort pays off big: you work faster without losing quality. Top lash artists finish full sets in under 90 minutes. But this speed comes from great isolation skills built over many tries.
Try timing your work. Track how long isolation takes per eye to find slow spots. If lower lids are tricky, practice vertical pulls. As you get better, you’ll do two things at once: isolate with one hand, prep fans with the other. This lets you serve more clients, earn more, and avoid feeling worn out.
Picture the growth: from shaky grips causing stickies to smooth, one-hand isolations making light, perfect sets. Tools like mannequin practice heads speed this up, helping beginners become experts fast.
Types of Isolation Techniques
Ready to improve? Here are three proven isolation methods with clear steps. Try them to see what works for you—many artists mix them for their own style.
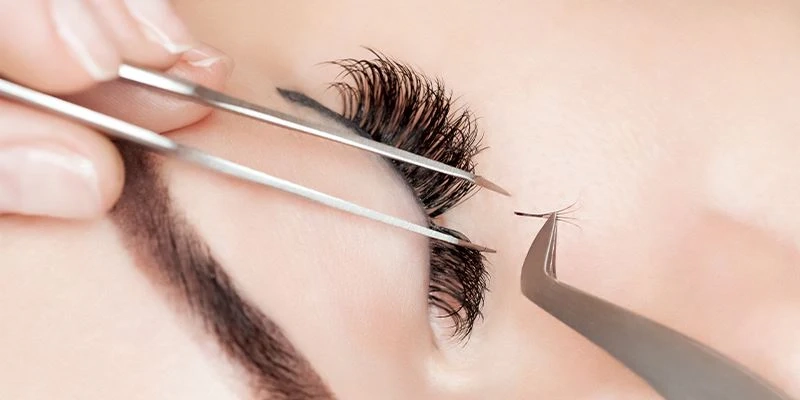
Double-Handed Isolation Technique
Great for newbies learning control, this method uses both hands. Your main hand (volume tweezer) spreads or places extensions. Your other hand (isolation tweezer) picks the target lash.
Step-by-Step:
-
Get the client comfy, with under-eye pads in place.
-
Use your isolation tweezer to softly lift the chosen lash from the group. Pinch gently at the base to keep it steady.
-
Hold steady with your other hand. Use thumb and finger to push nearby lashes aside, like opening a curtain.
-
Place the extension on the lone lash. Tap the base for a strong hold.
-
Let go and repeat. Switch hands as you feel ready.
For right-handed folks, starting with right-hand help makes it easier to master one-handed work later. Pros like this for tight lash lines. It reduces tiredness on tricky designs. Over time, it sharpens your hand-eye skills, key for top-notch lashing.
Using a Guide Lash Technique
Tiny baby lashes can mess up your rhythm—they’re hard to grab and tangle things. A guide lash is a short-term extension that marks the problem lash to push it aside.
How It Works:
-
Find the pesky lash (often 0.05mm or thinner).
-
Stick a slim 0.07mm extension (straight or light curl) to it with a tiny bit of glue.
-
The extra length makes it easy to move aside with tape or your tweezer, clearing the way for main work.
-
Keep going with your set. The guide lash won’t stay past the session but does its job.
This trick works well for thin or older client lashes, avoiding skips. It’s great for volume sets where seeing clearly matters. Use hypoallergenic glue to keep fragile lashes safe.
Working in Layers Technique
For thick or layered lashes (2-5 rows deep), side-to-side isolation feels messy. Go vertical: work one layer at a time, using tape for support.
Detailed Process:
-
Cut medical-grade tape a bit wider than the eye. Fold the sticky side once to make a safe barrier with just a little stickiness.
-
For short lashes, leave 1-2mm out to lift them gently.
-
Press tape under the lashes to lift the whole lid up, spreading them out.
-
Use curved tweezers to pull the bottom layer off the tape’s edge.
-
Isolate and add extensions to this layer, moving inward.
-
Use a fan dryer if needed, then free the next layer.
-
Repeat until all layers are done. Remove tape last.
This works great for hybrid or Russian volume sets, keeping lashes separate. It’s perfect for monolids or hooded eyes with less space. Taping lowers the risk of pulling out lashes, keeping them healthy.
Best Isolation Tweezers for Lash Extensions
Tools make your skills shine—pick the wrong ones, and your hands hurt mid-set. For isolation, choose light stainless steel (SS) tweezers with rose gold (SA) tips. They’re easy to use for many grip-release moves without getting tired.
Our favorite? SS-SA isolation tweezers—super-fine 0.5mm tips for exact control, non-slip ridges, and curved shapes that fit the lash base. At under 10g, they feel like part of your hand. Pair with straight volume tweezers for classics to mega-volumes.
Buy good quality: cheap ones bend or rust, slowing you down. Clean with barbicide after use and store tip-up to keep them sharp.
Good Additional Tips
Practice
Practice is your best friend. No live models? Get a mannequin head with fake lash strips—start with one layer, then try three to match real lashes.
Spend 30 minutes daily: time yourself isolating 50 lashes, aiming for clean moves. Record your work to check mistakes, like gripping too hard. Join online groups for tips—progress grows with support.
Make Sure the Adhesive Is Dry Before Continuing to Apply
Rushing glue drying causes stickies. Use a fan or nano-mister for 2-3 seconds per lash to set the bond. Work in a zigzag (center-out, skip sections) to avoid touching wet fans.
Tip: Low-humidity rooms help glue dry faster. Keep 45-55% RH for the best hold.
Don’t Rush Your Progress
Speed comes after skill, not before. Go slow and steady—focus on doing it right, not fast. Track your work: aim for 95% stickie-free sets before worrying about time.
Rushing leads to burnout. Celebrate small steps, like neater outer corners. After 500+ hours, smooth work comes naturally.
Build on these tips with small changes: soft lighting helps you see better, and comfy chairs prevent aches. Prep clients well—clean and prime lashes to make isolation easier by cutting oil slip. For pros, try magnification loupes for super-precise work in thick brows.
Great isolation also helps you sell more. Clients love the care and may buy upkeep plans or extras like lifts. Track client returns before and after better isolation; expect a 15-20% boost.
Add feedback: surveys after service catch isolation issues early. Keep learning—webinars on nano-misters or hybrid mapping keep you sharp.
In the end, top isolation makes your work stand out, building client trust in a busy market. Clients notice lighter, longer-lasting sets and share them online.
FAQ
Q: How long does it take to master lash isolation?
A: It depends, but most see big gains after 100-200 practice hours. Keep practicing regularly for the best results.
Q: Can poor isolation cause permanent lash damage?
A: Yes, repeated stickies stress roots, causing thinning. Good technique stops this—always focus on clean work.
Q: What’s the best tweezer tension for beginners?
A: Pick low-tension SS-SA models; they ease hand strain during long sets.
Q: Is taping safe for all eye shapes?
A: Mostly yes, but check for sensitive skin. Use hypoallergenic tape and don’t pull too hard.
Q: How do I practice isolation without a model?
A: Use mannequin heads with layered fake lashes. Time yourself and watch videos to improve.
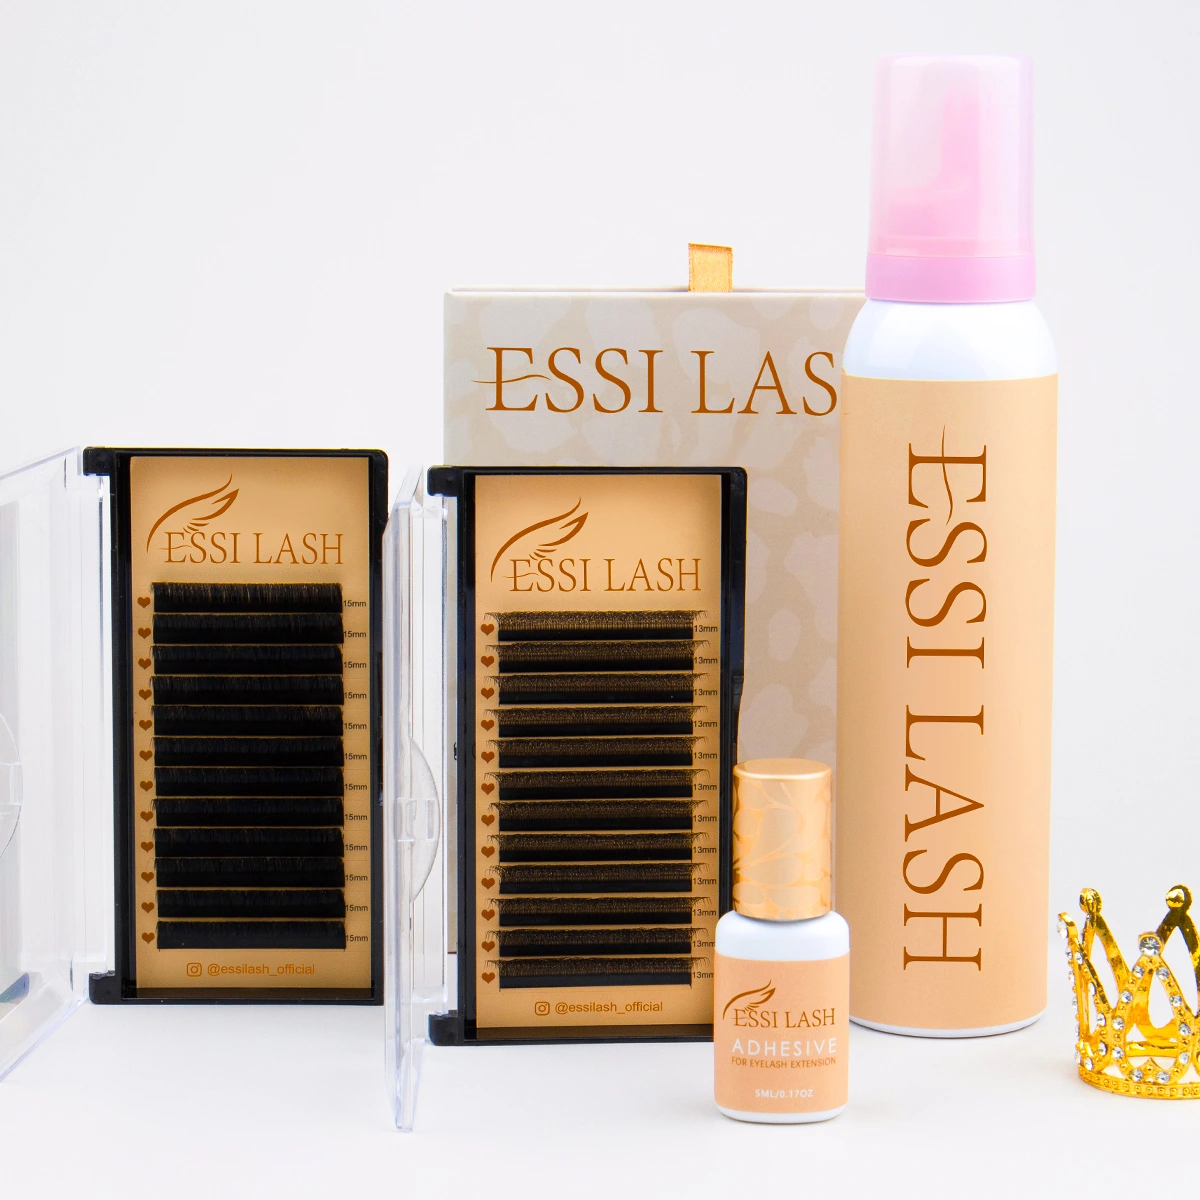
Elevate Your Lash Business with Premium Supplies from ESSI LASH
Ready to boost your isolation skills and grow your salon? Team up with ESSI LASH, the go-to one-stop maker for top-quality eyelash extensions and pro supplies. With over 1,500 global partners and supplies to big brands, ESSI offers NO.1 quality lashes that fan easily, stick well, and look rich and matte—ideal for perfect isolations every time.
Check out our custom private label options: put your logo on premium volume trays, glues, and tools with free design help. Enjoy full privacy, drop-shipping to clients, and bulk exports in full containers for easy stock.
Reach out to ESSI LASH at info@essilash.com or visit www.essilash.com to get samples, talk wholesale prices, or start your custom order. Let’s create your dream lash line—your amazing artistry begins here!
