

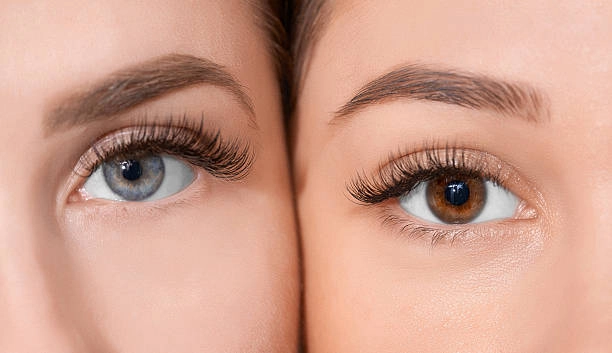
Before diving into the artistry of fox eye lash extensions, it’s important to clarify what sets this look apart: fox eye styling uses strategic lash mapping and curl selection to create an elongated, lifted appearance that enhances the outer corners of the eyes.
Key Differences Between Fox Eye and Other Lash Styles
Fox eye lash extensions have quickly become a signature request at modern eyelash salons. But what makes them so unique compared to other classic or cat eye looks?
| Style | Inner Corner | Outer Corner | Overall Shape |
| Classic | Even, natural | Even, natural | Follows lash line |
| Cat Eye | Shorter lengths | Longest lengths | Elongated, winged |
| Fox Eye | Flat curls (B/C) | Lifted curls (L/M) | Lifted, angled upward |
The fox eye design relies on flatter curls at the inner corners and gradually transitions to more dramatic curls like L or M toward the outer eye, giving the appearance of a lifted brow and extended eye contour.
Choosing the Right Look for Each Client
Before diving into styling, always assess:
-
Facial symmetry and brow structure
-
Natural lash growth direction
-
Eye shape (almond vs hooded vs downturned)
-
Lifestyle needs: Does the client want something bold or low maintenance?
This assessment ensures their fox eye lashes not only look great but also last longer with proper retention.
Evaluating Client Suitability for Fox Eye Styling
Visual Indicators That Support the Look
Clients with almond or upturned eyes tend to wear fox eye styles beautifully. A strong brow arch can complement the upward flick created at the outer edges.
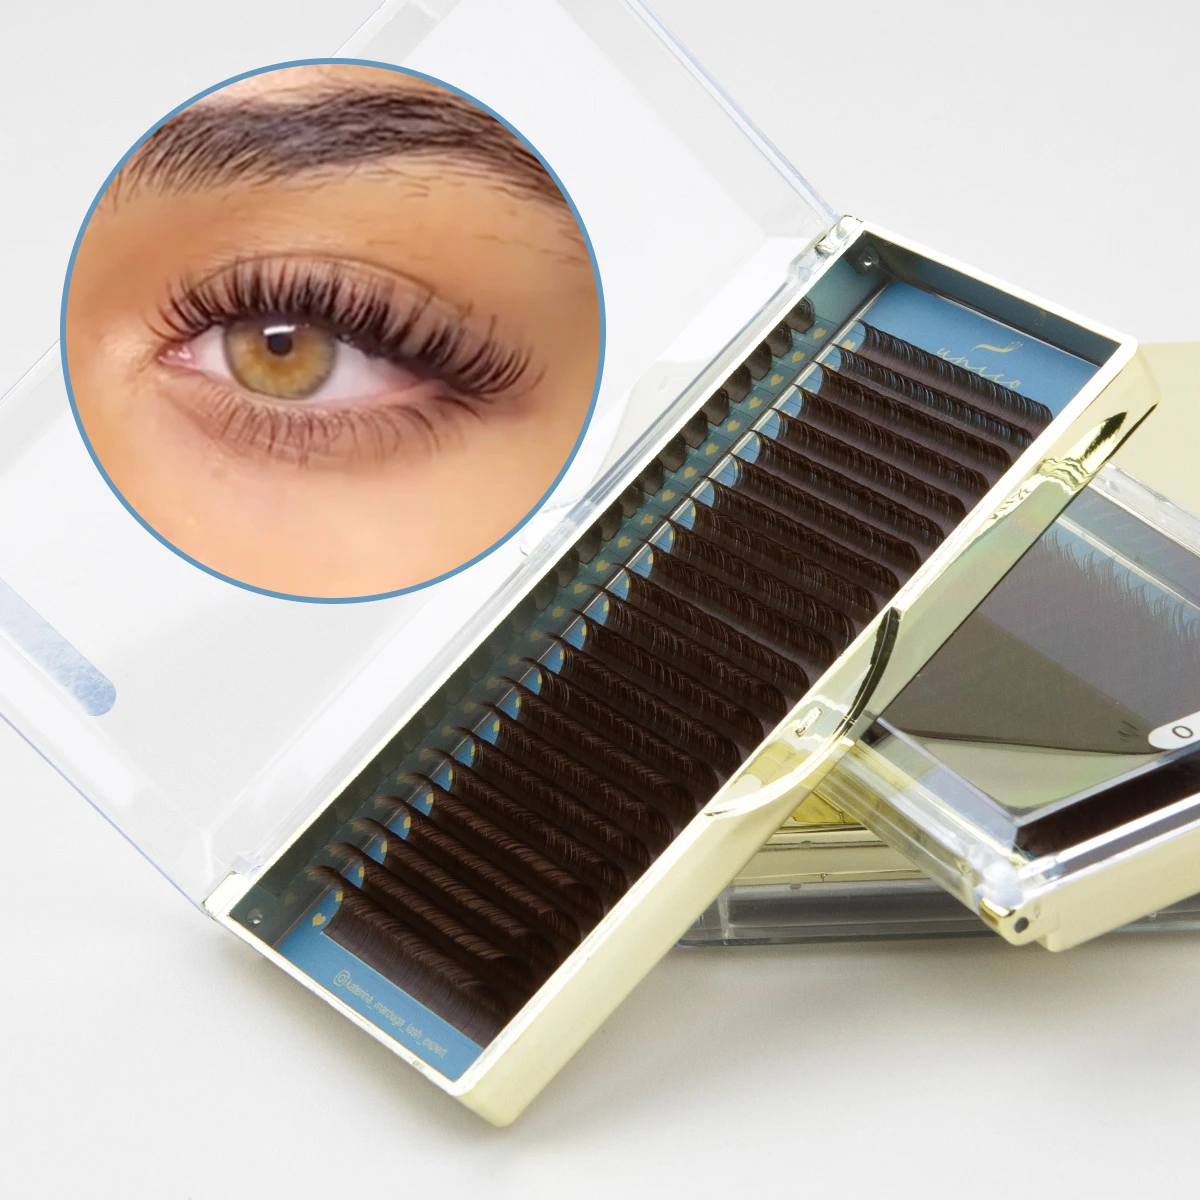
Simple Measuring Techniques for Ideal Placement
Use a lash mapping method that measures from the inner to outer canthus. Where the brow tail ends often serves as a helpful alignment point for longer extensions to enhance that iconic fox lift.
When to Recommend Alternative Styles
If a client has downward sloping or hooded eyes, applying a straight up fox eye design may exaggerate the droop. Instead, try a hybrid map with shorter lifts or softer curls.
Capturing Results for Client Education and Growth
Always snap high resolution before and after shots under consistent lighting. These visuals not only showcase your skill but help manage future client expectations.
Mapping Fox Eye Extensions with Precision
Selecting Curls That Achieve Lift Without Overload
To avoid heaviness:
-
Use L or M curls for lift in zones 5–6.
-
Stick with B or C curls in the inner corners for seamless blending.
No matter what curl, length, the direction you use, it’s important to make sure the base of the lash extension is fully attached to the natural lash, at least 2mm.
Professional Mapping Techniques for Balanced Results
Divide the lash line into 6–8 sections based on your client’s eye shape. Start short in zone 1 and gradually increase lengths toward zone 5. Slightly taper off in zone 6 for a natural fade rather than an abrupt stop.
Advanced Adjustments for Challenging Eye Shapes
For asymmetry or hooding:
-
Modify curl strength by alternating between L and M.
-
Blend mixed curls between adjacent zones for depth and softness.

Executing Flawless Application from Prep to Finish
Preparing Clients for a Comfortable Session
Start with a thorough cleanse using an oil free foam cleanser like those offered by ESSI LASH. Tape down lower lashes without touching the waterline—this prevents discomfort and chemical irritation.
If the eyepatches are placed incorrectly it will be extremely uncomfortable for your client it will also lift up the inner corner lashes, resulting in the wrong distance and an overall messy look when your client opens their eyes.
Step by Step Application Strategy for Fox Eye Shape
-
Begin from mid lash (zones 3–4), applying longer lengths to anchor shape early.
-
Work outward with increasing length and lift.
-
Fill in inner corners last with soft curls angled toward temples.
Lash Extensions must be placed 0.5mm away from the skin along the lash line.
Managing Time Efficiency and Correcting Errors Smoothly
Work smart by using isolation tweezers that reduce hand fatigue—especially during delicate outer corner work. If a lash is misaligned, remove and reapply instead of stacking more layers.
For best results, consider professional grade options offered by Essi Lash, which maintain curl retention and quality through long sessions.
Troubleshooting Common Issues During and After Application
Addressing Challenges While Lashing is in Progress
Monitor glue behavior closely. A slow drying adhesive can cause shifts at lifted zones. Adjust mapping if symmetry is off—don’t keep applying inconsistently.
If you have been wondering why your client’s lashes are not lasting as long as they should be, it is probably because of the amount of lash extension glue you’re using.
Post Service Concerns That May Arise
Discomfort often stems from poor tape placement at corners. Shedding may indicate improper curl tension or weak bonds—remind clients about aftercare essentials.
When lash extensions aren’t bonded correctly, your client is at risk for premature shedding.
Maintaining Fox Eye Extensions Through Proper Aftercare
Educating Clients on Daily Maintenance Habits
Teach them to:
-
Avoid oil based products near their lashes.
-
Use extension safe foaming cleansers daily.
-
Sleep on silk pillowcases to reduce friction.
Scheduling Fills Based on Lash Growth Patterns
A 2–3 week refill cycle is ideal. Monitor retention during early sessions to adjust future mapping based on how their natural lashes behave.
Strategic Pricing and Marketing Approaches for Lash Artists
Setting Service Rates Based on Design Complexity
Price fox eye sets according to:
-
Time involved
-
Product usage
-
Artist experience level
Consider offering tiered rates for junior versus senior artists.
Promoting Fox Eye Services Through Visual Branding
Showcase your work consistently across social media using natural lighting and side by side comparisons. Highlight differences between fox eye and other lash styles clearly on your service menu.
Lash professionals sourcing high performance products through Essi Lash gain consistency that supports premium service pricing.
FAQs
Q: Can I use D curls for fox eye sets?
It’s not recommended—D curls create more of a rounded lift rather than the angular flick that defines fox eye styling.
Q: What’s the best glue drying time for fox eyes?
Use fast setting glue like ESSI LASH’s 0.1 second drying adhesive to secure lashes quickly before they shift out of position.
Q: Should I do full volume or hybrid for fox eye?
Either can work! Go hybrid if your client wants texture but not too much fullness.
Q: How can I fix uneven lift after application?
Remove mismatched extensions in affected zones and realign using consistent curl types and directionality.
Q: Are fox eyes safe for sensitive clients?
Yes, just ensure pads don’t touch the waterline and use gentle cleansers and glues designed for sensitive eyes.